
Here are some TOTALLY AMATEUR tips for taking a nice looking head shot photo for your social media profiles.
This post is written on Thursday, March 19, 2020. Just 6 days into the CoronaQuarantine, for Virginia at least.
In between trying to do homeschooling for my three elementary schoolers and staying sane and also seeking to thrive not just survive in this strange, new reality of ours, I’m still trying to make tiny strides in my business.
And you know my tips are really just a recount of all that I’ve done in my own business. So today’s tip is about taking your own head shot for your business’s online presence.
Disclaimer #1…I graduated high school in 1999, so I think that makes me one year too old to be a “Millenial”. So if you read one minute of this article and think I’m writing to a 60 year old who just got a smart phone, well, you aren’t that far off because I’m sort of like a 60 year old in spirit. So you can just move along to any of my other articles that don’t make you want to roll your eyes.
Disclaimer #2…I am not an iPhone user. So if this post inspires you, then you will have to up your scrappiness and follow these same steps after you’ve figured it out for iPhone. I promise you there will be about 90% similar functions that are already included in your iPhone. You don’t need to download anything. I’m quite certain.
So, on Tuesday (2 days ago), I decided I wanted some better pictures of myself (anyone else notice how moms, in general, never have photos of themselves….but plenty of photos of everyone else???). I am not going to take on any more clients during this uncertain time because this home school is kicking my butt, but I can still do small things in the cracks of my day. It is important to me to keep my business mindset on, even just a little bit.
So use this tips to get a great photo of yourself during your CoronaQuarantine2020.
Tip 1: Look Great
It is amazing what fixing your hair and putting on some lipstick will do for your mood. Don’t let your outfit be too busy. And I think I’ve read advice in the past that one piece of your ensemble that sort of “pops” is nice. For me, it is my hair, so I didn’t add anything.
What is the male equivalent of this? Putting on a belt, perhaps? A little hair gel? Just do whatever gets you feeling like Bruce Willis in that episode where Ross catches him pumping himself up?
Step 2: Identify Your Location
My back yard was not going to cut it. My fence is ugly. My yard is full of weeds. But maybe your yard will look nice. One thing for sure, spring time is in full bloom here in VA, so it might be the perfect time to find a nice blooming tree for the background, if you want that sort of look.
I picked the outside of a building in the “hip” part of my town.
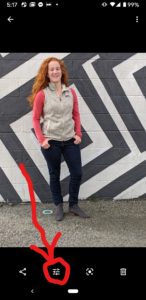
One more tip about your location. Make sure you really look around at everything that will be in your photo. Now thankfully, I’m happy to have cropped this little thing out, but the point is, I DID NOT EVEN KNOW THIS STUPID GREEN THING WAS IN MY PHOTO. Don’t be oblivious like me. What if I had wanted this full shot? Well, then I would have had a dumb, weird green thing on the ground. Just take 30 seconds and look at every inch of your background.
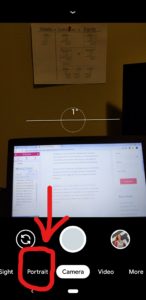
Step 3: Use Portrait Setting In Your Camera
Alright, here we go. That little device you hold in your hand has more computing power than all the computing power to send the Apollo astronauts to the moon, right? So use it!
I knew that the “portrait” feature covered a multitude of unphotogenic-ness. Wowzer! It really helps. So make sure you use it. Here is a phone screen shot of how to find it on my phone when I’m in the camera setting.
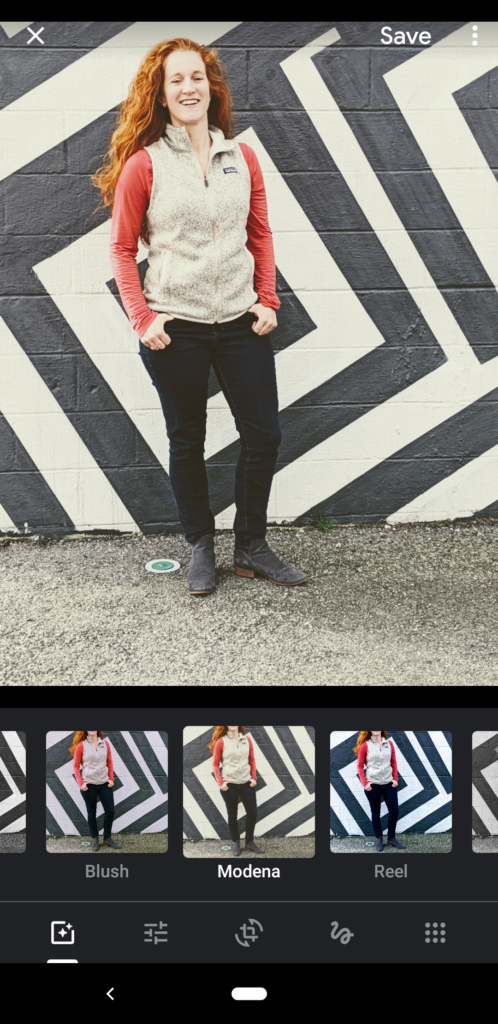
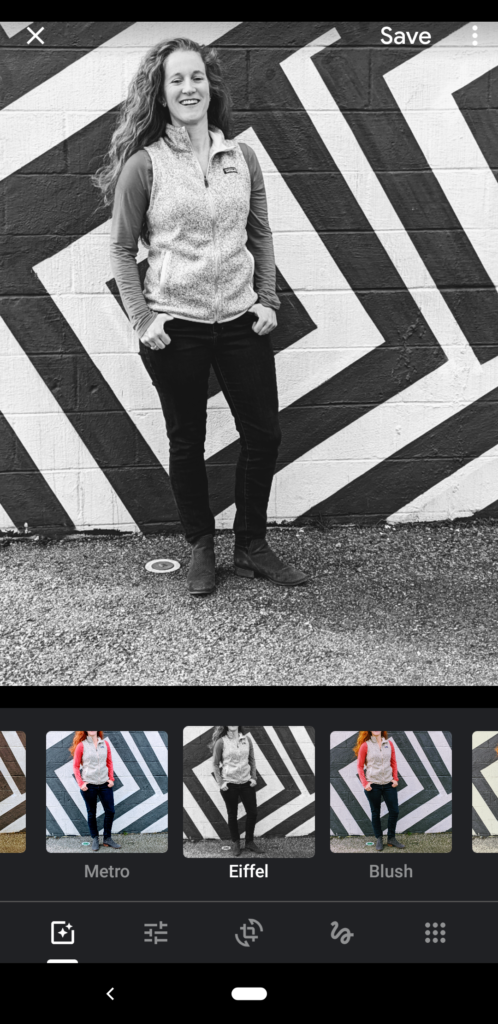
Step 4: Play With Filters and Crop
I played around with some of the filters. They just add a bit of a touch that makes it look like you were taking the headshot task a bit more seriously than just taking a selfie and uploading it to LinkedIn.
Here is where I found the filter function on my phone.
And here are some examples of what you can do with different filters. A little pop. A little black and white. Your choice. What is the vibe you are going for? You could be taking photos in a nice office setting if that is the vibe you are going for. It doesn’t matter. But the point is, check out those filters and see if you prefer any to original photo.
If you need to crop your photo, then you can do that, in the same place inside your image editing settings.
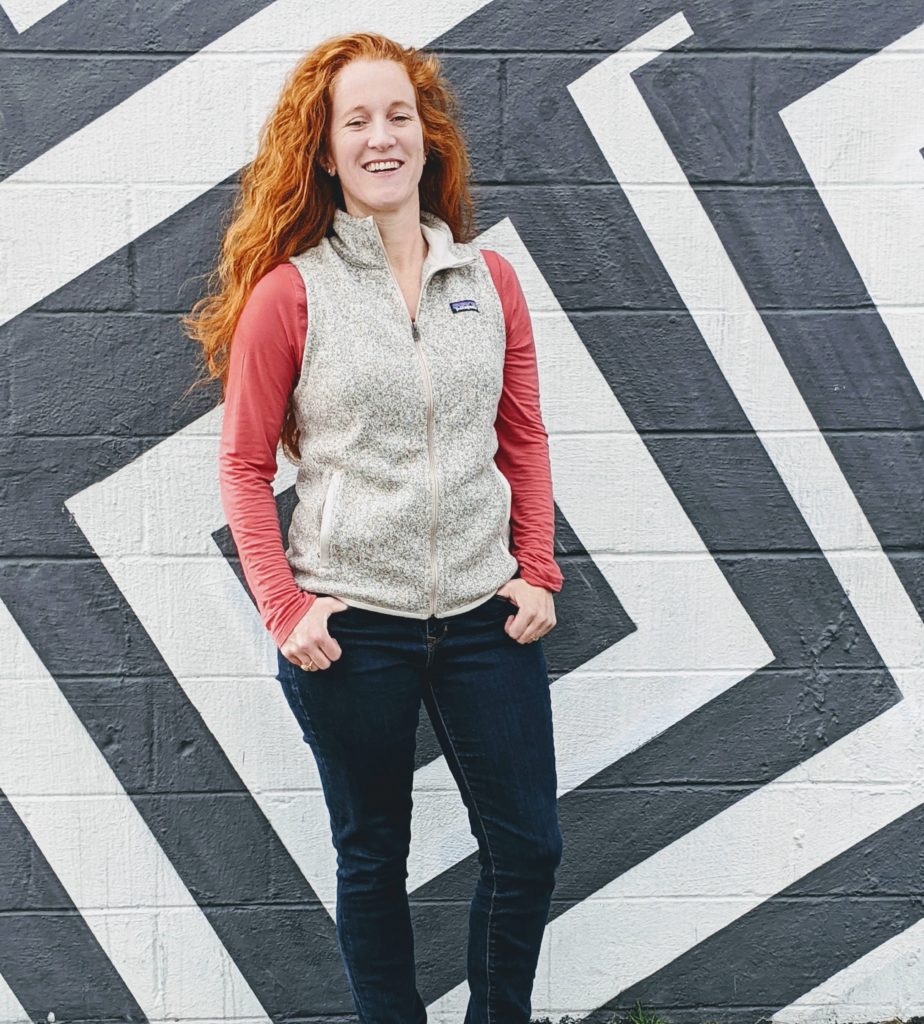
And then, VOILA! You have a nice new filtered and cropped image that you can use on LinkedIn, you business facebook page, your website, etc! A nice step forward in building your business and you didn’t catch Covid-19 or infect anyone else in the process.
This is my final product. I’m pretty pleased.
Cost = 0$.
Come on over to the Bookkeeping Side Hustle Facebook Group and share your own DIY head shot!
Let’s end with some more Bruce Willis memes for the Friends fans out there. You’re welcome.